A few years ago I made my first tapestry. I learned a lot and enjoyed it, mostly: it's fun weaving the image but boring weaving the background. Lately, for the guild challenge "Country Garden" I wondered if I could weave a 3D robin. That way I could have the fun bit and dispense with the background!
My starting point was what I learned from making my sheep (all-in-one-piece sheep experiment). I made sketches of a robin in the local museum and found lots of web photos and a couple of Christmas cards. I made a series of graph paper models as I gradually refined the pattern.
As the idea came together I made a toile out of felt, colouring the pieces with watercolour pencils. I experimented with embedded bead eyes, a rolled up paper beak, and wire legs.
I jotted adjustments on the pattern.
Then I gathered my colours and wove a sample. From this I learned that it is not workable to use pin weaving to create such small curving shapes, so I decided to use holding stitches on a stiff background instead (this is a needle lace method). I figured out how to make the holes for the eyes and embed wire for stiffening the wings and tail.
The cartoon (weaving pattern) has the shape of the pieces, the marks for where pieces will join when they are sewn up, the positions of the warp threads, the colour areas, and the places where the colours will have sharp divisions (thin dark lines) or blend into each other (thick dark lines).
I began to attach the warp. I used lace-making tape around some edges because it is fine and stable. This will serve as a "seam allowance" and save me having to weave bulky extensions.
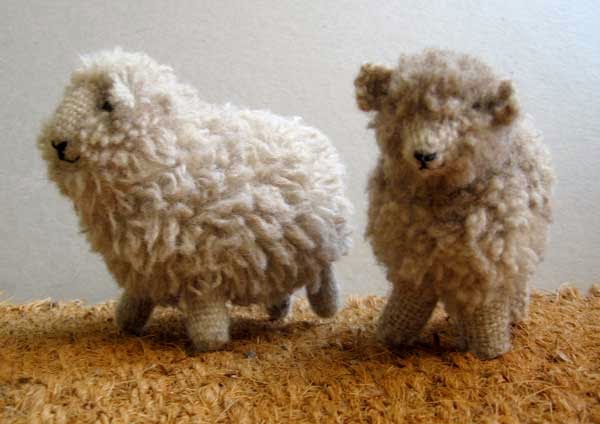
I scaled up the pattern and made two more sheep to use up all the off cuts from the jacket project. Each has her own personality.